
|
|
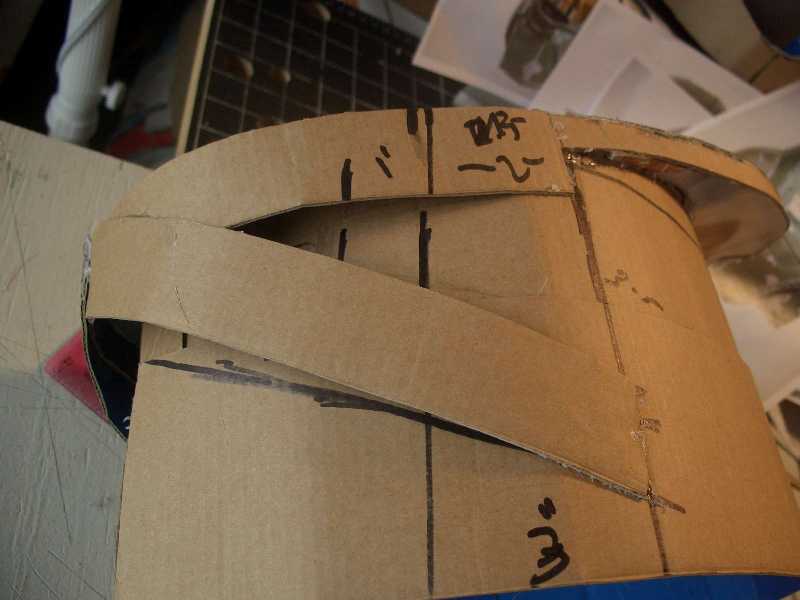
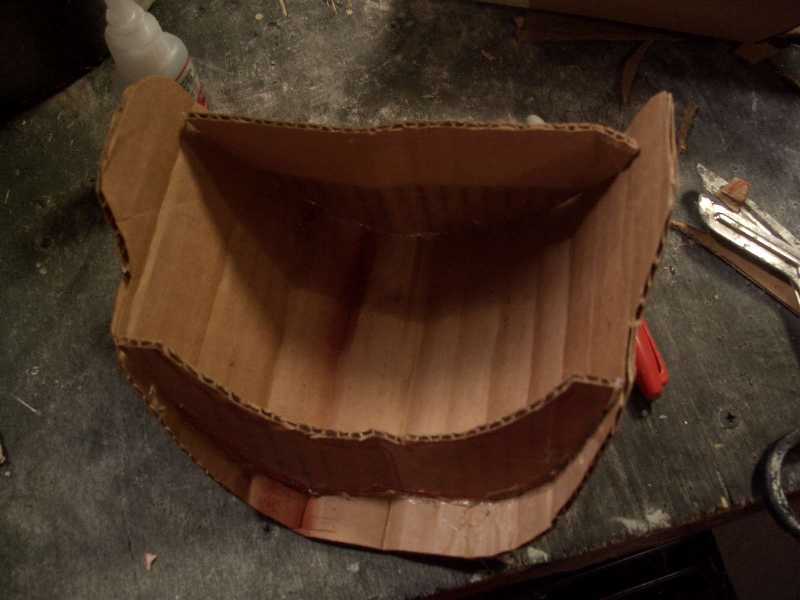
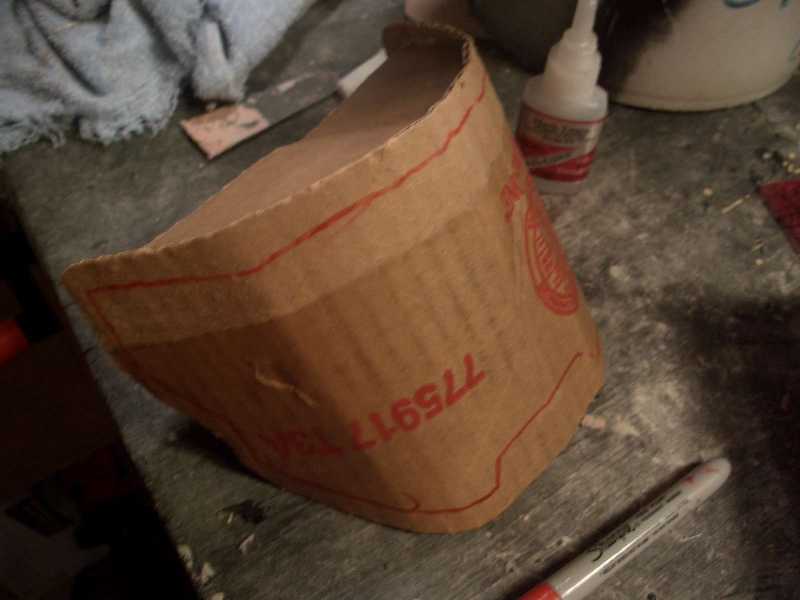
The first step was to create a bucket that would be used as the base for the helmet.
A 7" tall piece of cardboard was simply wrapped around my head and taped. The lid was traced
and tabbed so it could be glued inside to hold the shape.
|
|
|
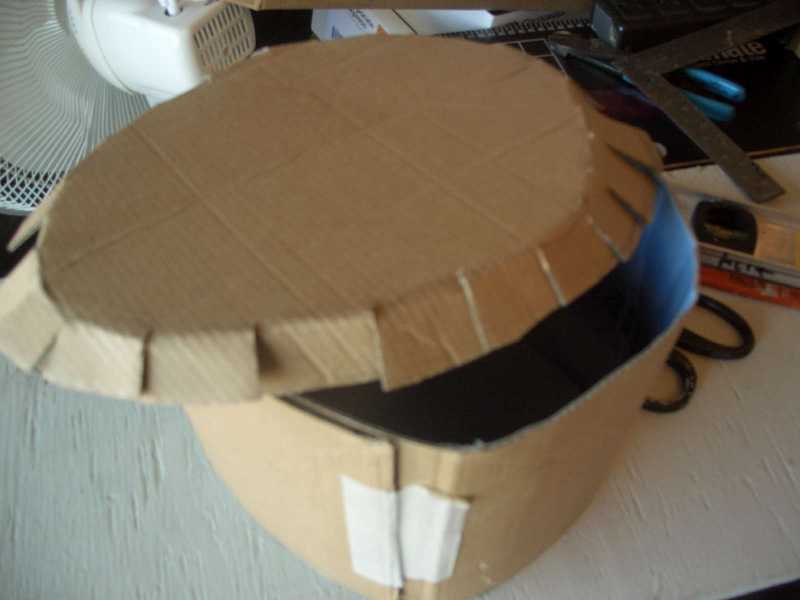
Here are the tabs that were cut and bent then glued inside.
|

|
|
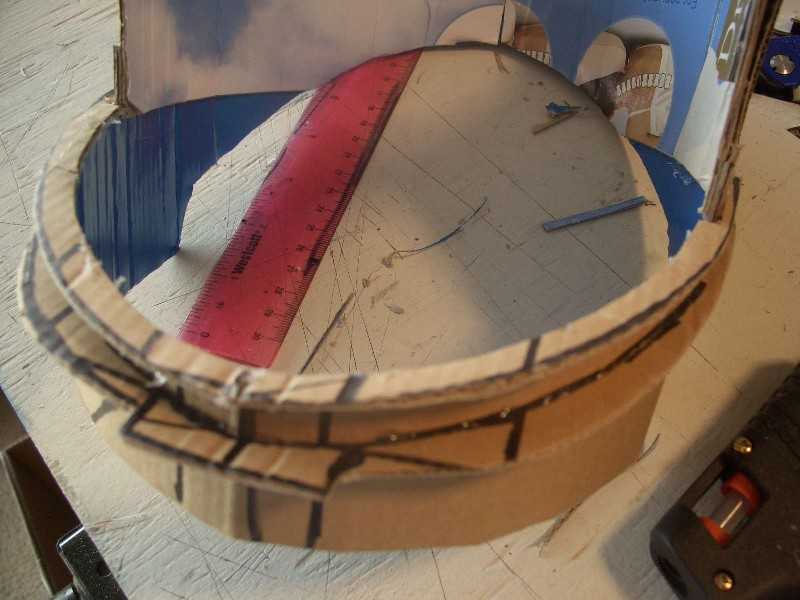
Some center lines were drawn for reference.
|
|
|
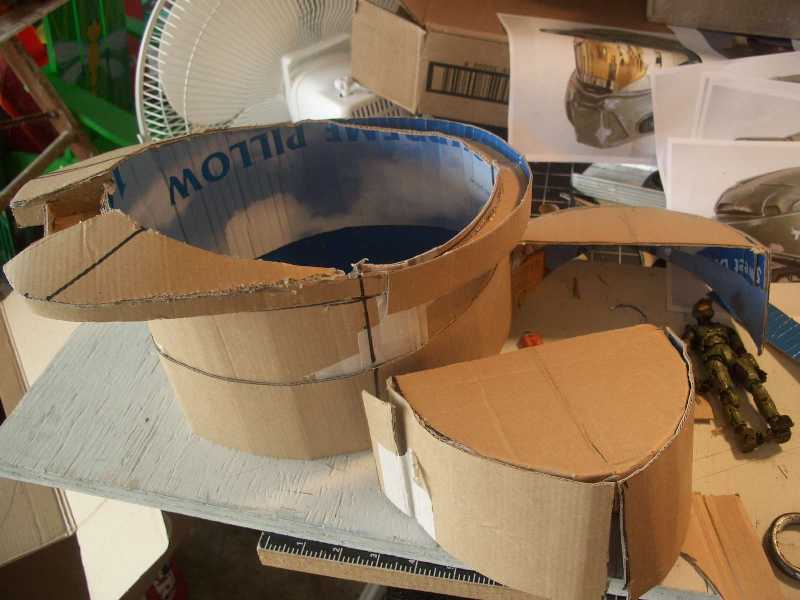
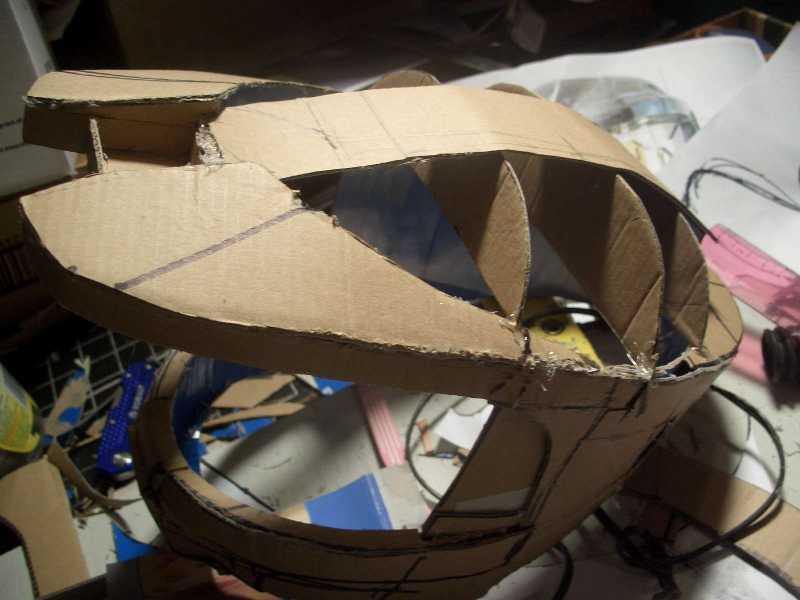
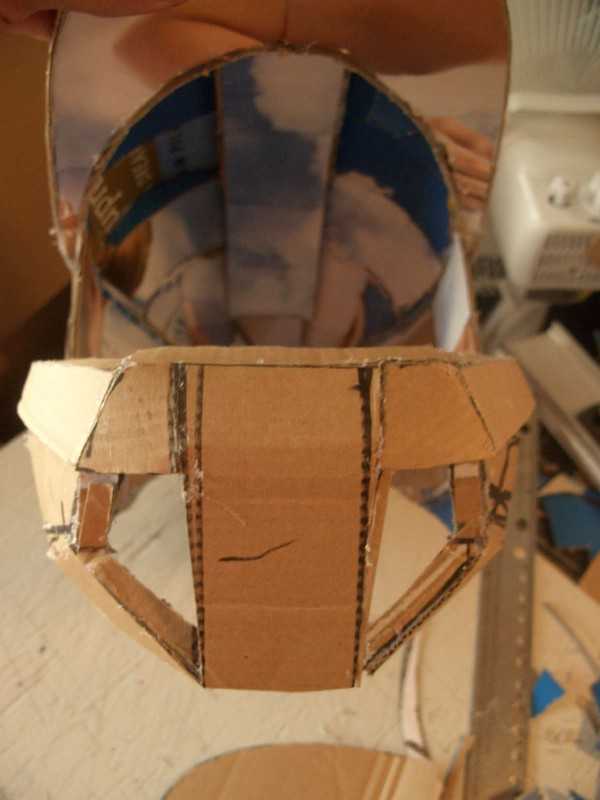
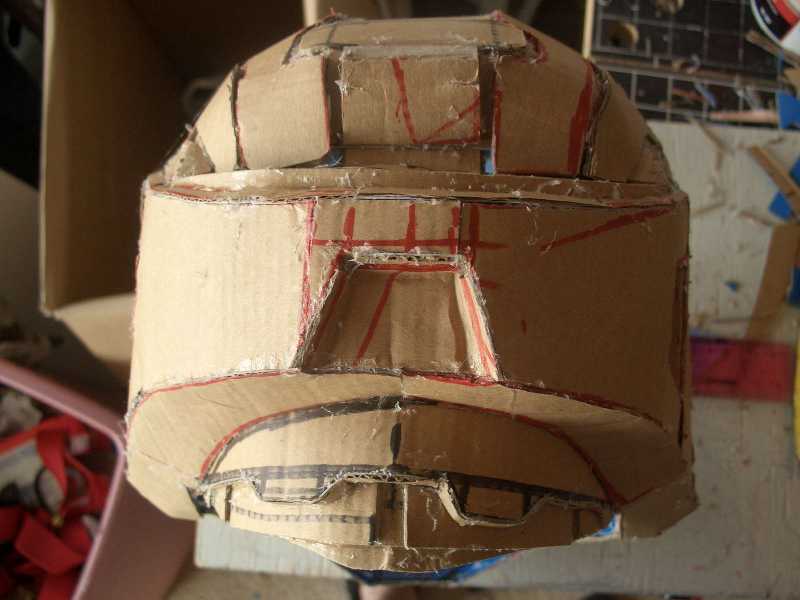
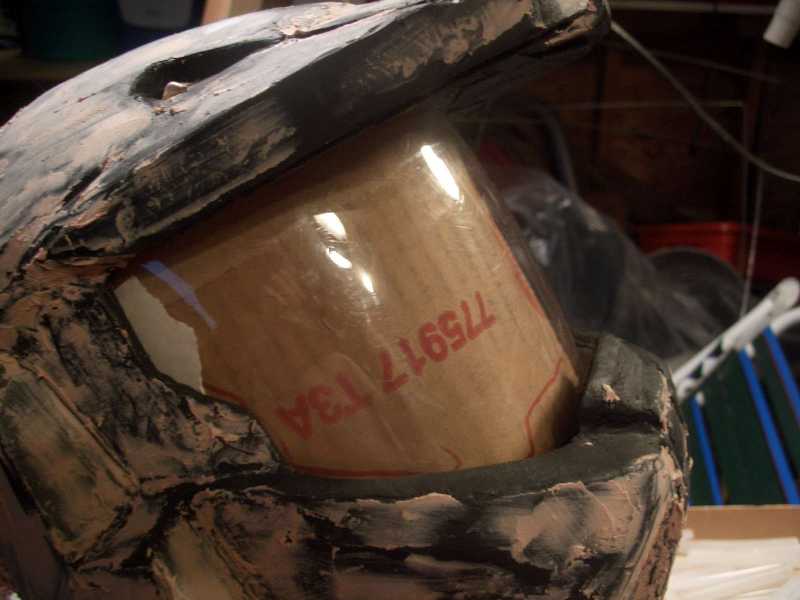
The brim was measured, cut and tabbed. It was then glued to the bucket.
|
|
|
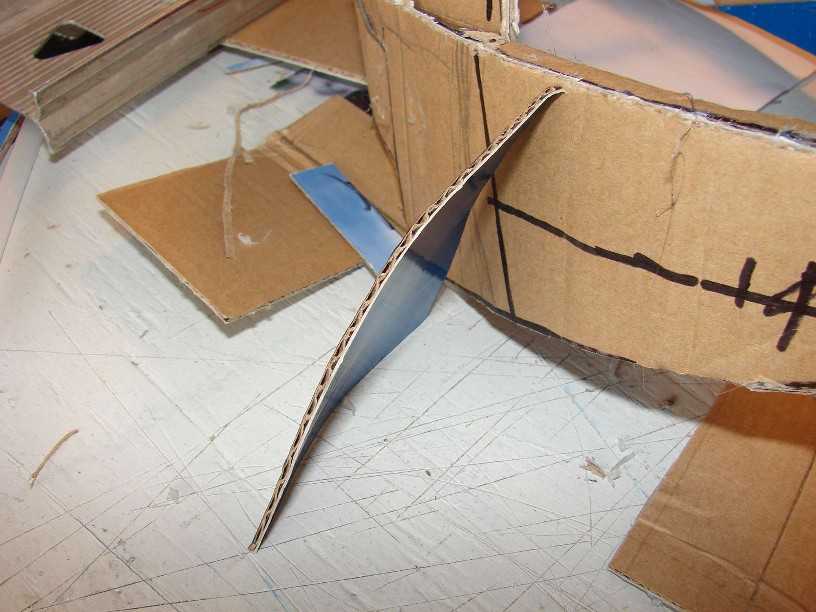
The brim was given depth by glueing some cardboard edges.
|
|
|
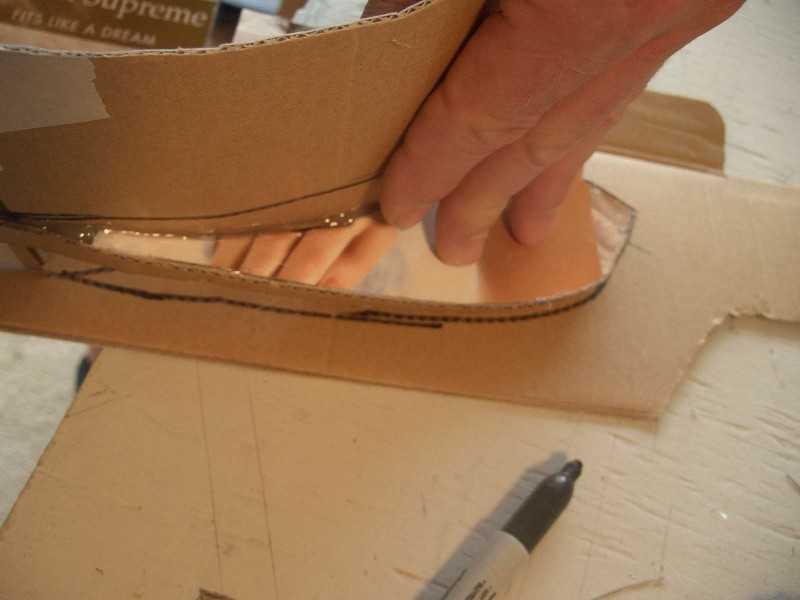
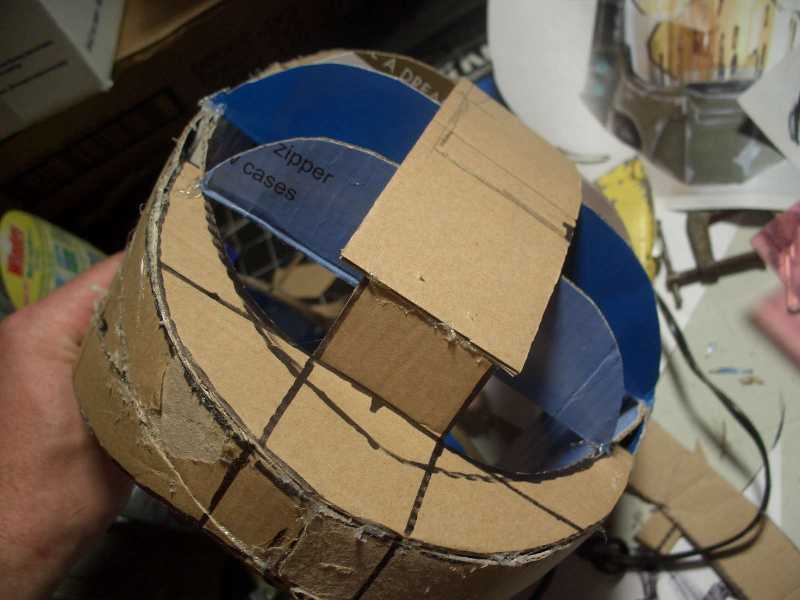
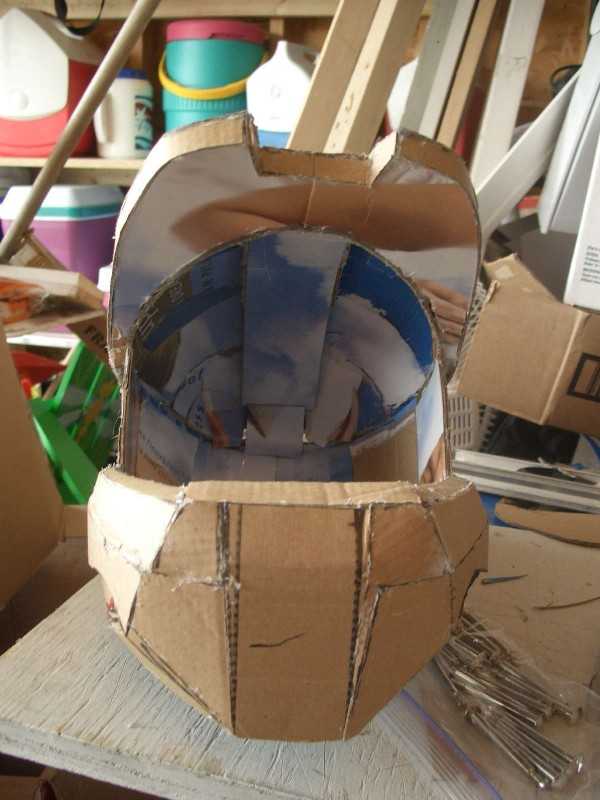
The brim lid was traced by turning the helmet upside down on the target cardboard.
|
|
|
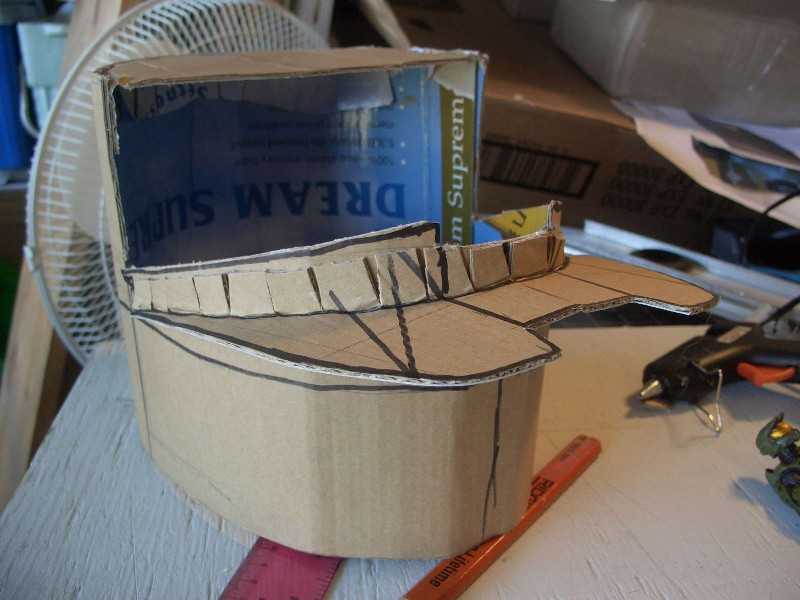
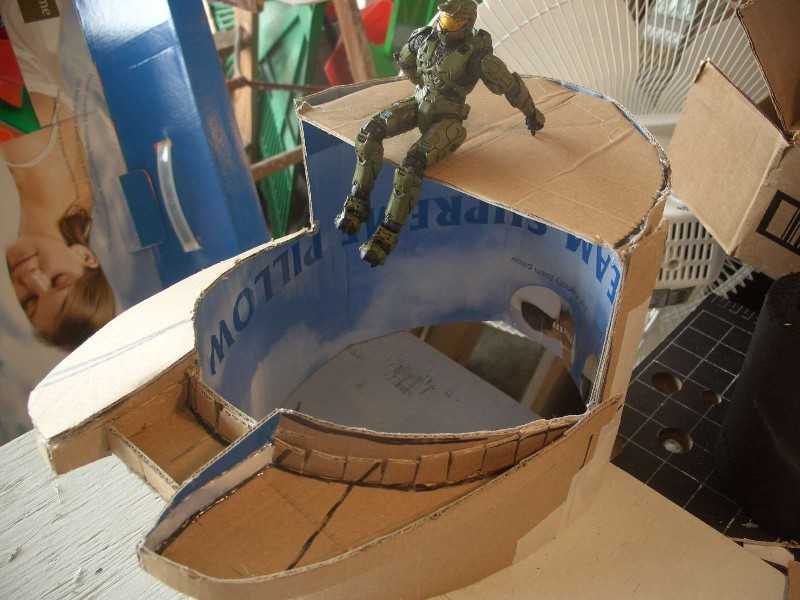
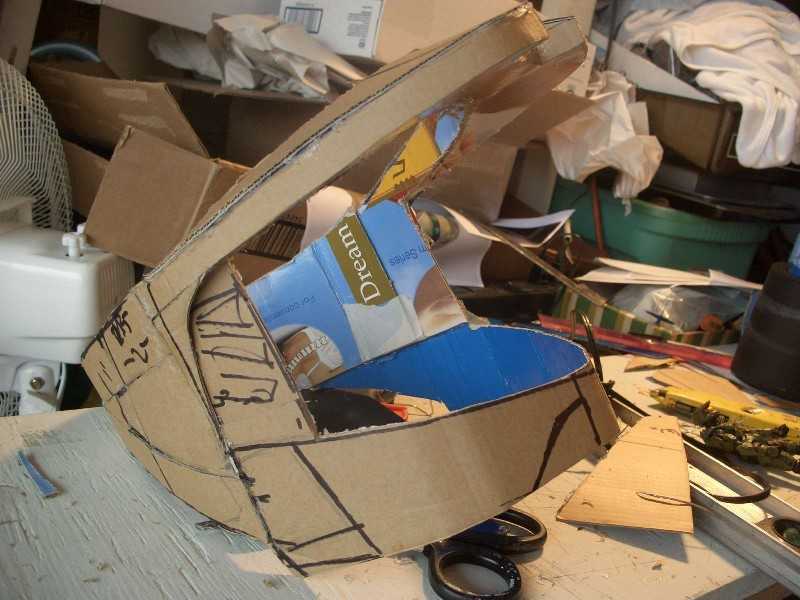
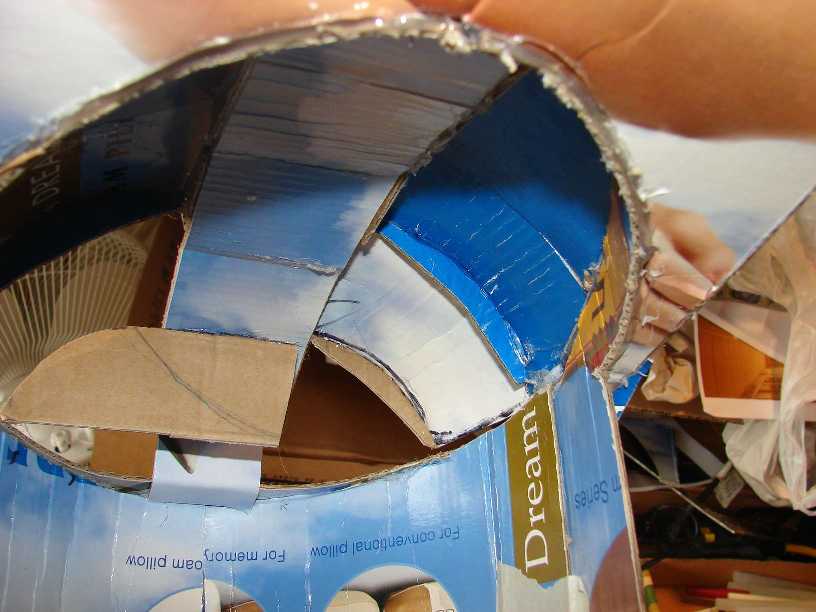
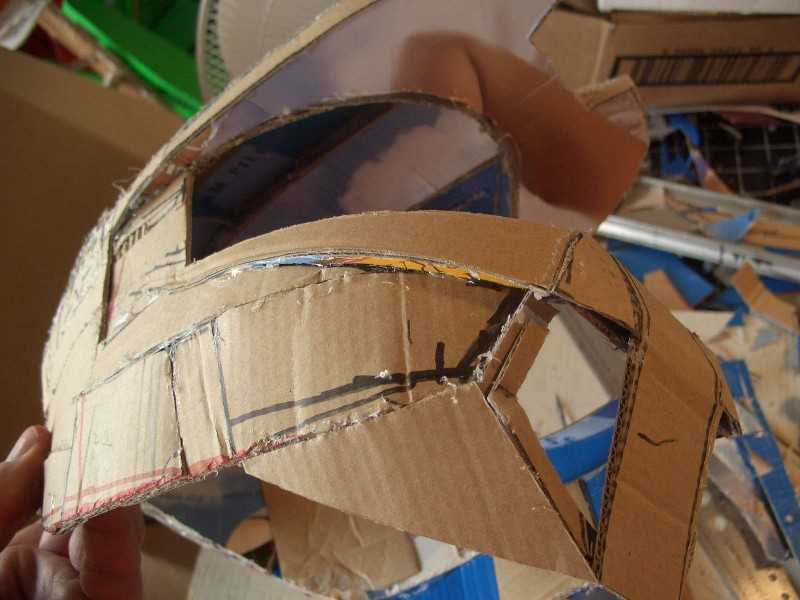
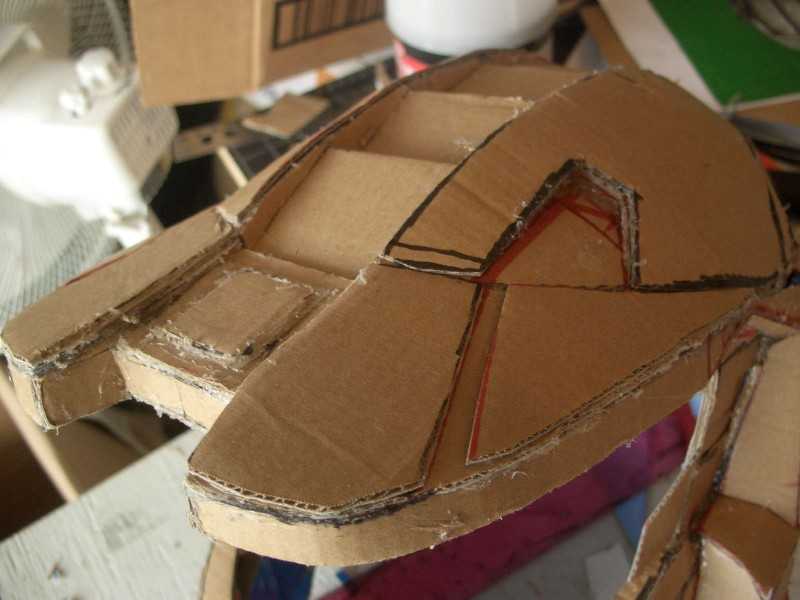
The first lid has been glued on and the front half of the top of the bucket has been cut
off now that it has the brim to hold the shape.
|
|
|
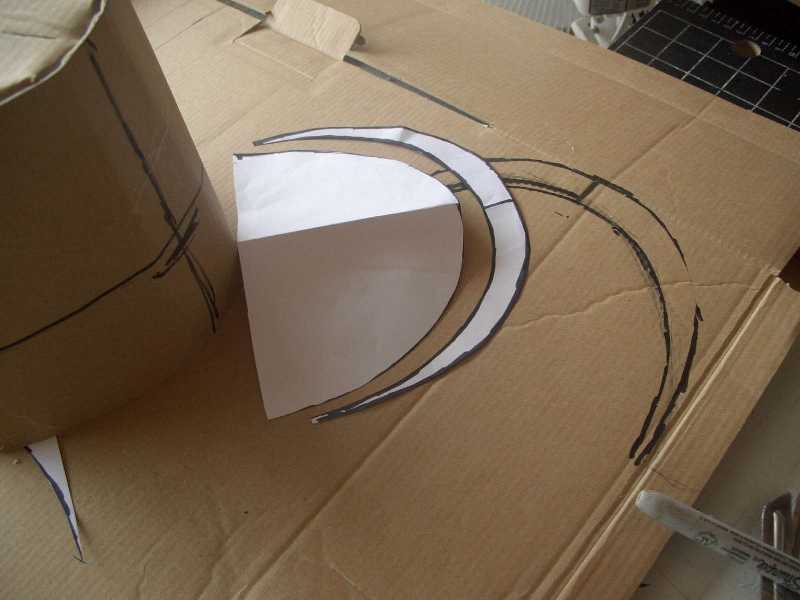
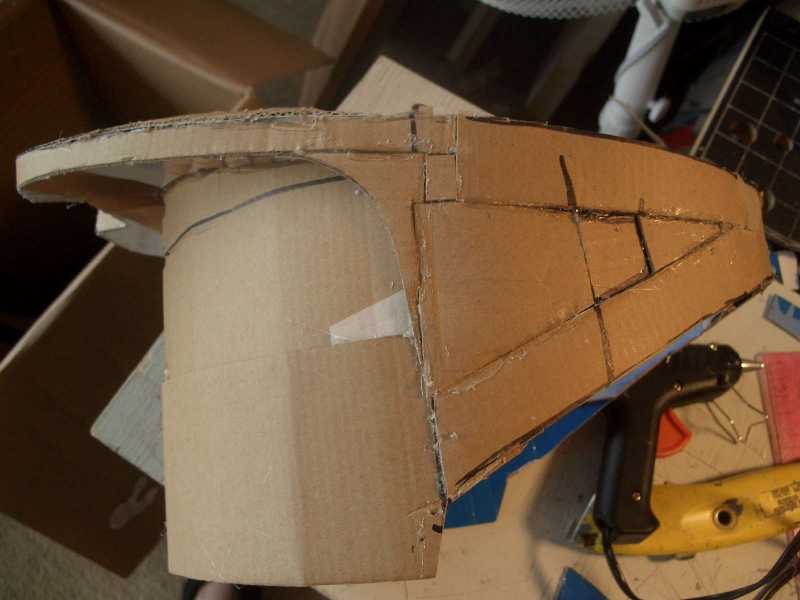
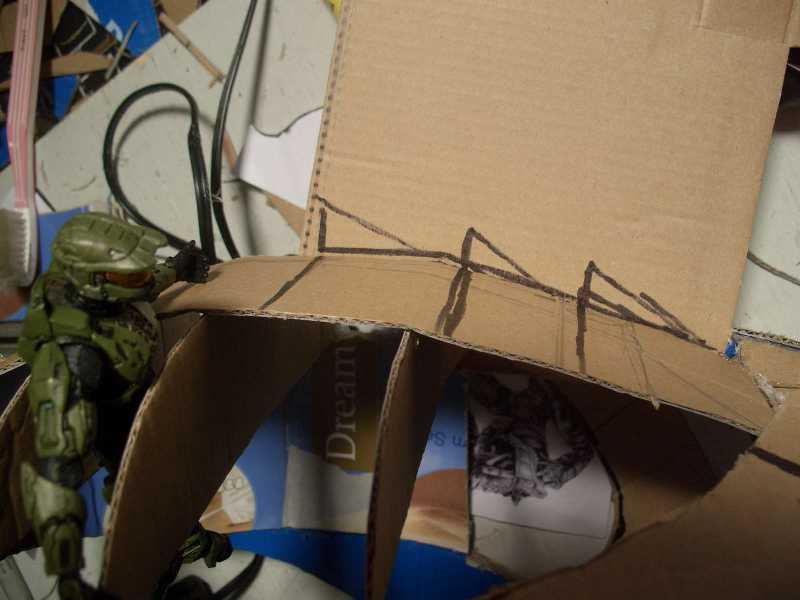
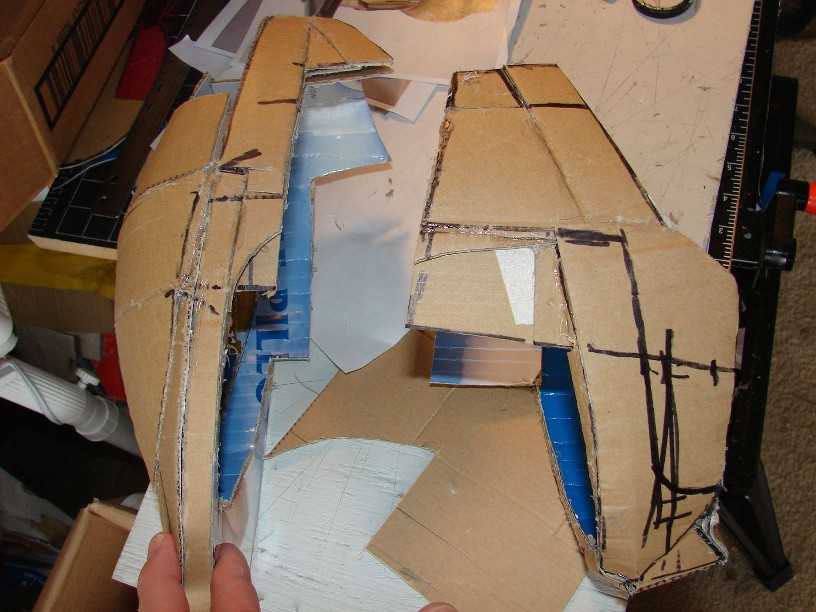
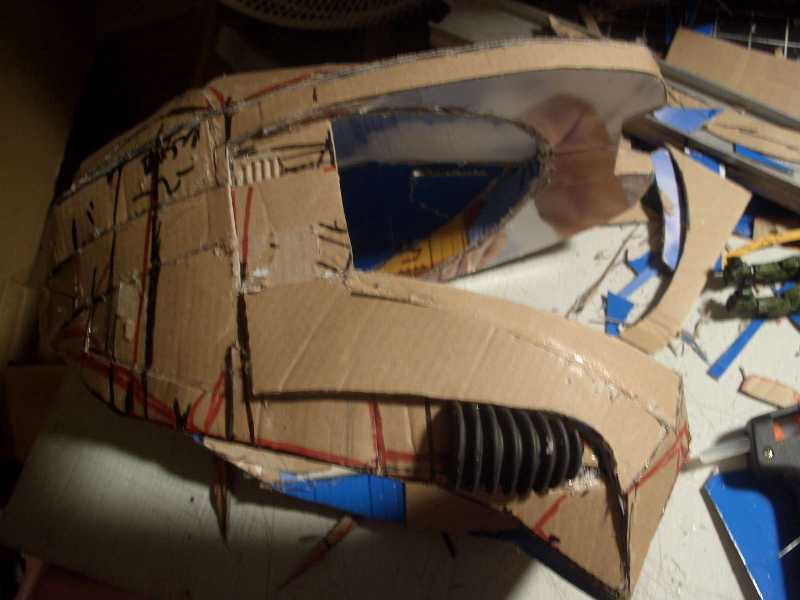
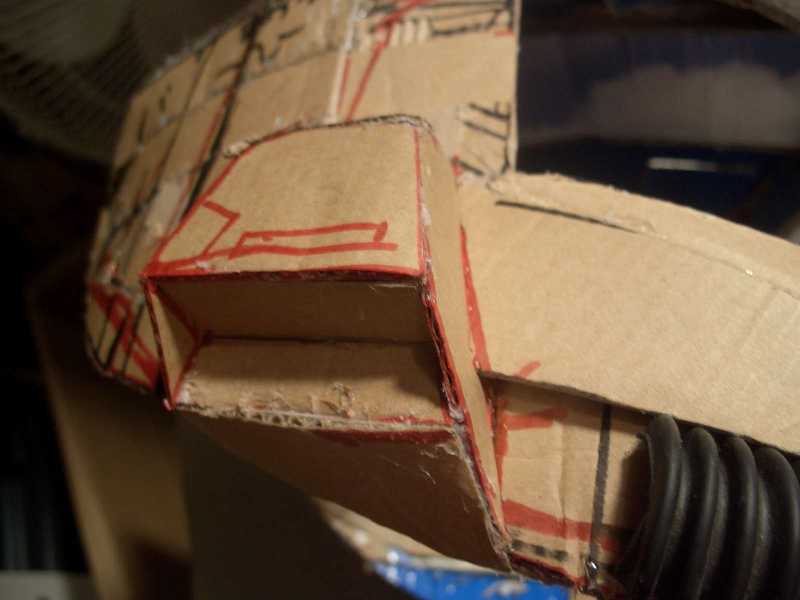
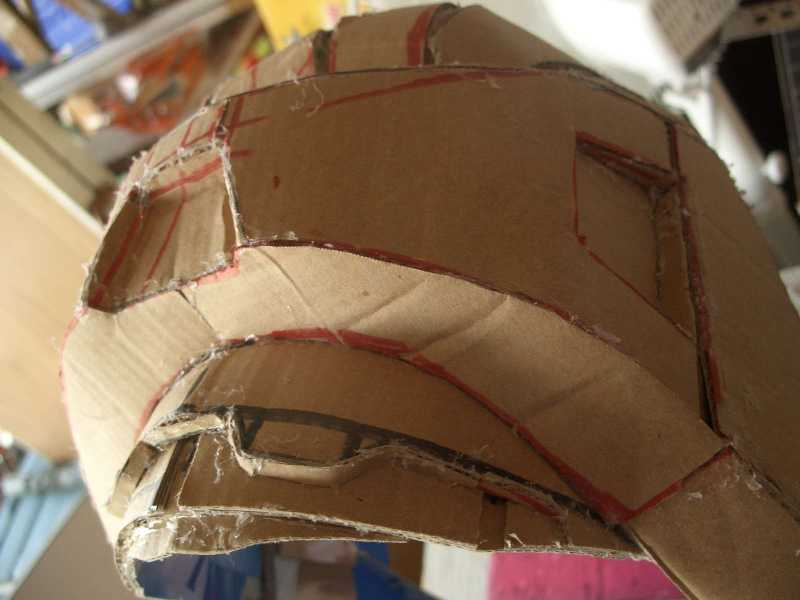
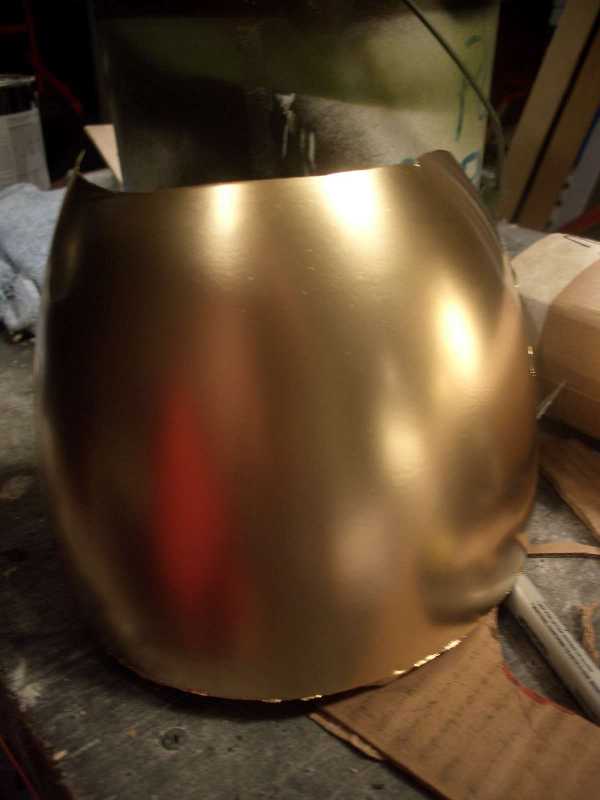
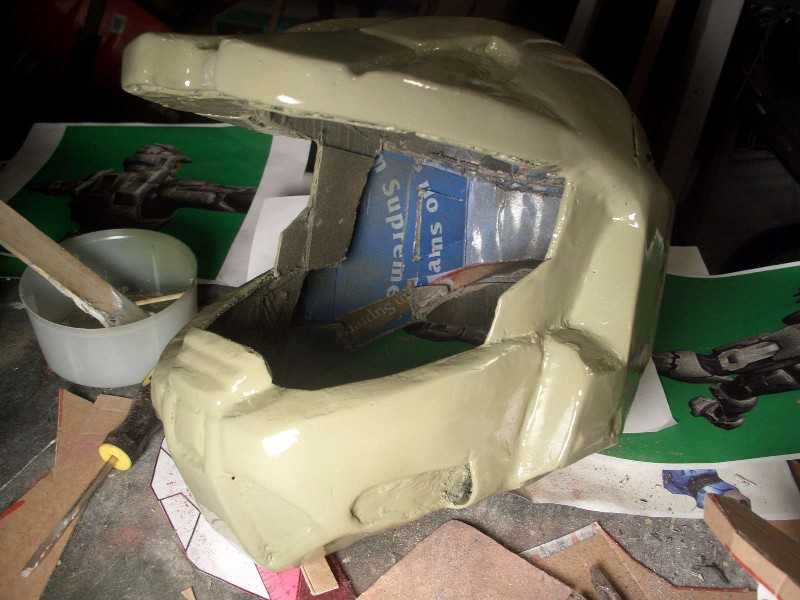
A paper template was used to draw the rear arc that will be used to support the detail at the back of the helmet.
The patern was folded in half to make sure the dimensions are consistent.
|
|
|
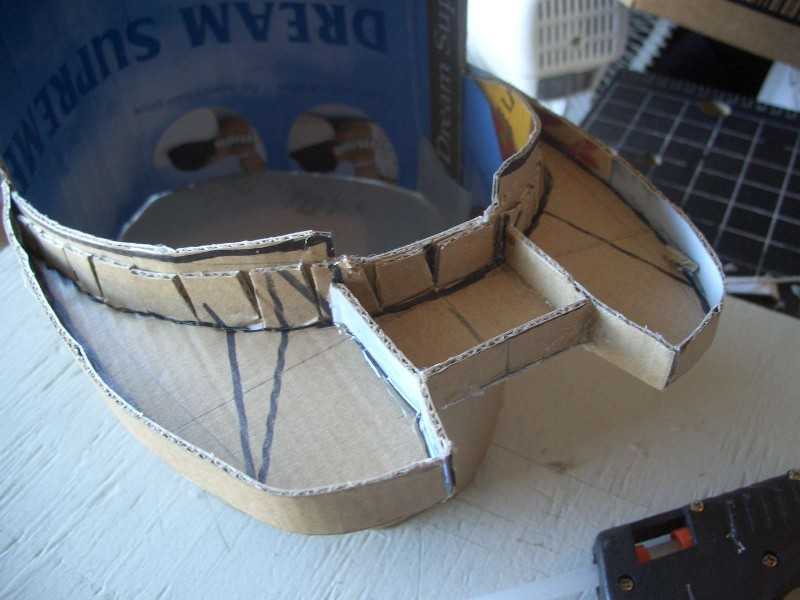
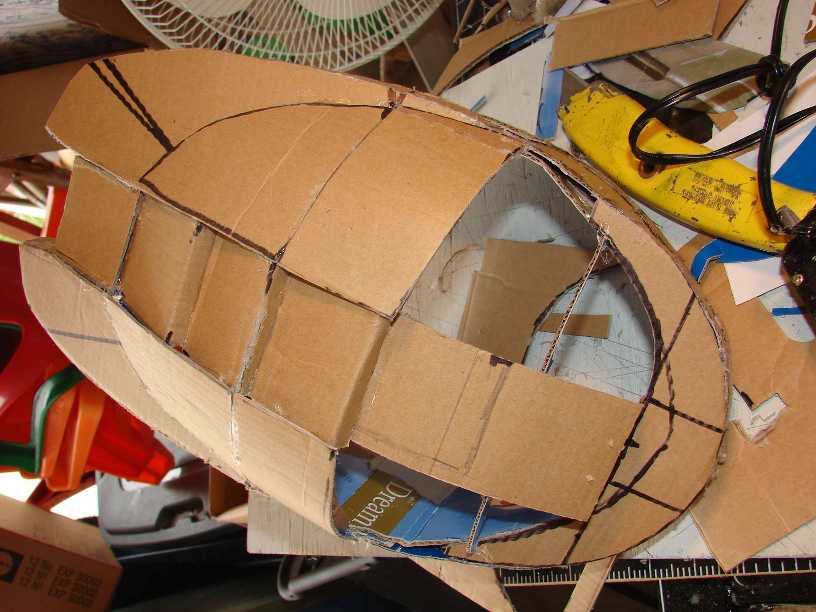
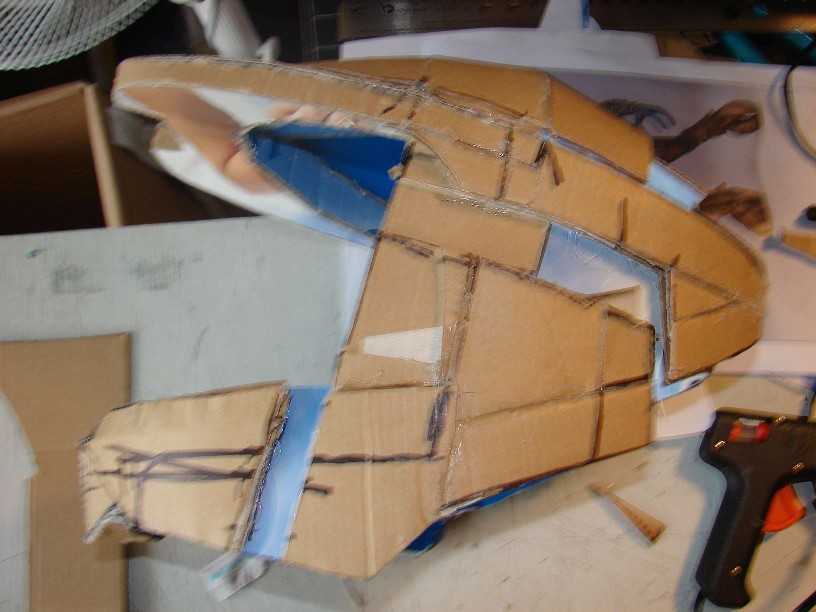
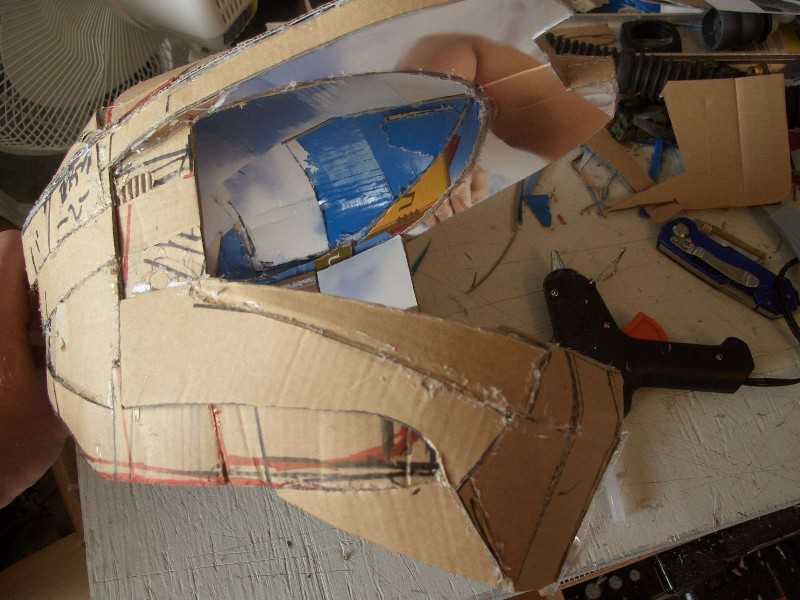
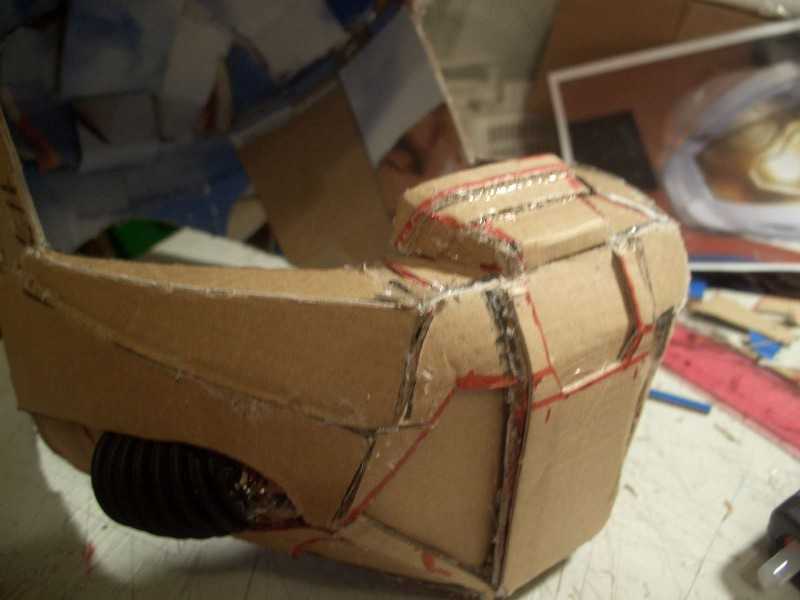
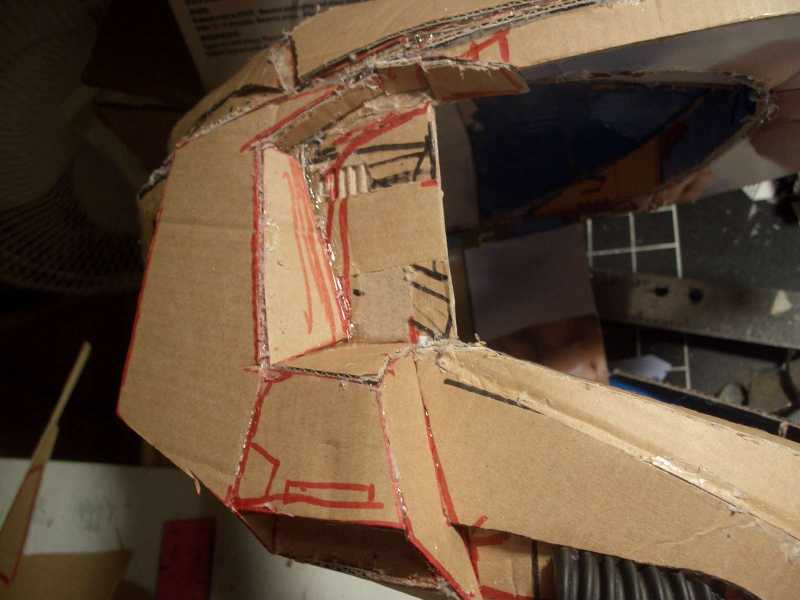
Now that the rear arc and first ring has been added to hold the shape the
|
|
|
|

|
|
|
|
|
|
|
|
|
|
|
|
|
|
|
|
|
|
|
|
|
|
|
|
|
|
|
|
|
|

|
|
|
|
|
|
|
|
|
|
|
|
|
|
|
|
|
|
|
|
|
|
|
|
|
|
|
|
|
|
|
|
|
|
|
|
|
|
|
|
|
|
|
|
|

|
|
|
|
|
|
|
|
|
|
|
|
|
|
|
|
|
|
|
|
|

|
|
|
|
|
|
|
|
|
|
|
|
|
|
|

|
|
|
|
|
|
|
|
|
|
|
|
|
|
|
|
|
|
|
|
|